Thursday, March 20, 2014

Goodbye?!

Well,

it's been a long (almost 4 years) journey. 

I have posted over 100 times and shared so many videos, tutorials, links, collages, inspiration and more. I'll just cut to the chase- I'm leaving this DIY blog... for now. Unfortunately, it is hooked up to the same account as my main YouTube channel, and I will continue to post on there, but I am no longer posting the kinds of DIYs I featured on this blog.

Instead, I will be focusing on my personal style blog: http://astyleblogofsomesort.blogspot.com/
I try to post at least once a week on there! So please follow me via Pinterest, Bloglovin' and more. 

I hope I can still feature tutorials on my YouTube channel and possibly my blog?? 
I hope to gain a larger following on my style blog so that my content will reach the screens of more fashion-lovers.
Yes, I will keep this blog up so we can still access all of my 'great' tutorials and pictures of me cerca 2012.


It's been quite lovely. 

XOXO, Courtney 
Pin It Now!

Friday, January 31, 2014

DIY Colonial "Molly Pitcher" Costume

My younger sister needed a costume for a school function~ so I volunteered to make it, of course!
She needed a costume for Mary Ludwig Hays, aka "Molly Pitcher" from the American Revolution.  Below is my inspiration board for the outfit. 

Making the Shrug/Bolero
I used Symphony Broadcloth Solid Quilt Fabric from JoAnn in Navy. It is inexpensive and looks nice.

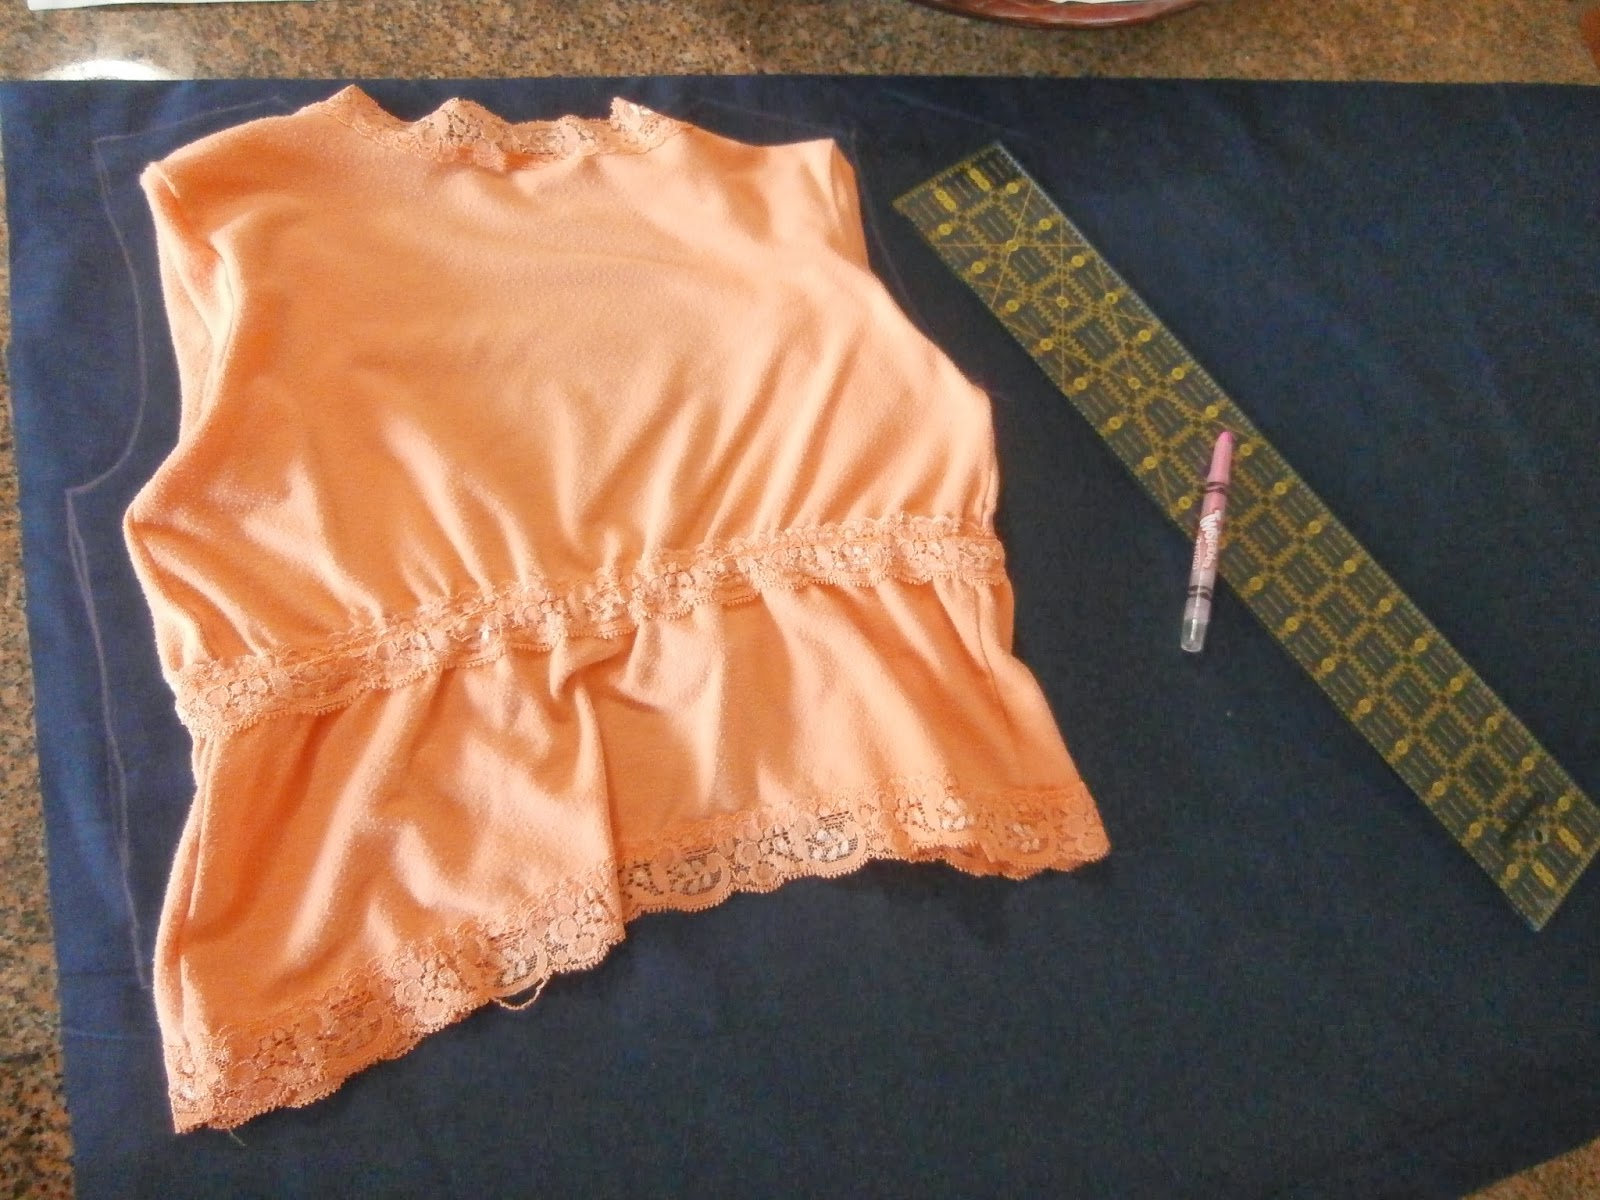
Instead of using a pattern, I traced one of my sister's shirts onto the fabric including a 5/8" seam allowance on all sides. Make sure your fabric is folded in half so you end up with 2 shirt pieces.

Next, I cut out some sleeves by tracing the shirt sleeves on the fold. You will need to cut 2.

Here are my pieces! (2 sleeves, 2 shirt body pieces)

Take 1 of the shirt pieces and fold in half, matching up the neckline. Using a marking tool (or in my case, a pink Crayola Twistable), trace curves similar to those shown above. (One extending from the shoulder and diagonally down and one curve on the bottom edge. Connect these to form a half-oval and cut along the line.)

You should end up with 2 SEPARATE pieces to the front of the shirt. Align right sides together with the other shirt piece as shown above.

Pin the shoulder and side seams.

Now you end up with a vest! Onto the sleeves! You can't really see from the photo, but I sewed the 2 short ends of the sleeves (right sides together, of course.)

Attach the sleeves to the vest~ this took some patience ;) I sewed, okay glued, some black bias tape around the sleeve opening, but you could hem it as well.

For this next part, I referenced this tutorial from www.makeit-loveit.com 

From the remaining fabric, I cut 2.5" wide strips, which turned out to be almost a yard long each. I sewed 3 together, which was plenty for the shrug. Here, you can see my sis hemming the very long fabric strip on one long end, but I would recommend to hem both edges.

I used a basting stitch (a longer-than-normal straight stitch) to go all the way across the strip on ONE SIDE ONLY. DO NOT BACKSTITCH! Make sure you leave the threads long on either end so you can gently pull to create a ruffle! I then attached it to the shrug, which is explained nicely in Ashley's post!

Making the skirt
 I used Symphony Broadcloth Solid Quilt Fabric from JoAnn in Plumberry.

I folded my fabric in half, then in half again, lengthwise.

For the rest of the skirt process, I followed this tutorial on www.shrimpsaladcircus.com. Only thing is~ the skirt turned out very small in the waist! I would suggest adding another inch or so.

For the rest of the costume, my sister wore a white tank under the bolero, yellow-y-beige bonnet from Colonial Williamsburg, VA, some black flats, and carried an old plastic pitcher! 


Pin It Now!

Monday, January 20, 2014

Baking Vanilla Cupcakes (From Scratch!)

I baked today! See what I made & how to make it here~


(Doubling the amount of sugar for that particular recipe wouldn't be a bad idea!)

Pin It Now!

Tuesday, January 14, 2014

Velvet 3/4 Circle Skirt Tutorial

Today I'll show you how to sew a 3/4 circle skirt using Crushed Panne Velvet I bought from JoAnn.
 In order to make the pattern, check out these tutorials by Fickle Sense and The Snug Bug.

Also check out my FULL Circle Skirt Tutorial for different methods & tips.

Fold your fabric in half twice. (Also explained in the video.)

Since this is a 3/4 circle skirt, you will need to cut a quarter circle out of the skirt. Try to be as exact as possible!

This is different from my video instructions I believe: make a double fold hem around the skirt.

I sewed mine with a narrow zig-zag stitch. DO NOT pull or stretch the fabric as you sew!

Measure out a waistband 5" x waist measurement.

Fold it in half, right sides showing, and pin it to the waist opening of the skirt, also right side out. The 2 layers of the waistband should match up with the waist of the skirt.

Sew using either a straight or zig zag stitch.

Fold the skirt in half so the two raw sides of the skirt match up like this. Sew with a straight stitch all the way down the side.

And... voila!


Pin It Now!

Saturday, December 28, 2013

{DIY} Sweater Makeovers

Have some boring old sweaters you'd like to update?
If not, head to your local thrift store or a friend's closet and pick up some plain sweaters!

In this video, I show you three ways to update/fix a sweater.
Here are the before and after pictures!


And here's the video!


Pin It Now!

Wednesday, December 25, 2013

Testing Out the Rainbow Loom

Happy Holidays, crafters!
~
This Christmas, my sister got the Rainbow Loom and we have been using it nonstop.
We only know how to make a few types of bracelets... but, I was wondering if anyone would be interested in seeing a video or a tutorial about them??


Pin It Now!

Sunday, December 15, 2013

Christmas Card Idea & Chocolate Covered Pretzels

Hey guys! 
Sorry I haven't posted in a while... I'm more active on my style blog: www.astyleblogofsomesort.blogspot.com
and my YouTube Channel: http://www.youtube.com/ucanrockcnd

 These are some cute Christmas tags I made super quickly last night!

 To make them, simply 1. Prepare your paper~ I used colorful index cards 2. Stamp a cute image such as a Christmas tree or the Eiffel Tower 3. Write a small greeting or message 4. Punch holes out of the corners, add ribbons, buttons, or trim.... etc.

ooOoo

Now for the sweet treats!

I received these from a friend and loved them SO MUCH that I had to make some and spread the deliciousness. They are thin pretzel crisps covered in white chocolate and topped off with crushed peppermint canes.

You will need: plain pretzels of your choice, wax paper or parchment paper, peppermint canes or candy, and white chocolate (melting wafers or chocolate bars work best).

First, melt the chocolate according to the package instructions. I didn't develop any method for this, but somehow dip the pretzel into the chocolate. I kind of just dunked it in the chocolate and scraped off the excess.

Plop the pretzels onto your parchment paper or wax paper and before the chocolate hardens, sprinkle them with crushed peppermints or candy canes.

Let them harden for a couple of hours...

or place them in the fridge to harden faster!

They're adorable and delicious! I put 4 in each cellophane bag, tied it up with a ribbon, and tied the tags I made onto them for a finishing touch. 

Pin It Now!

Friday, November 22, 2013

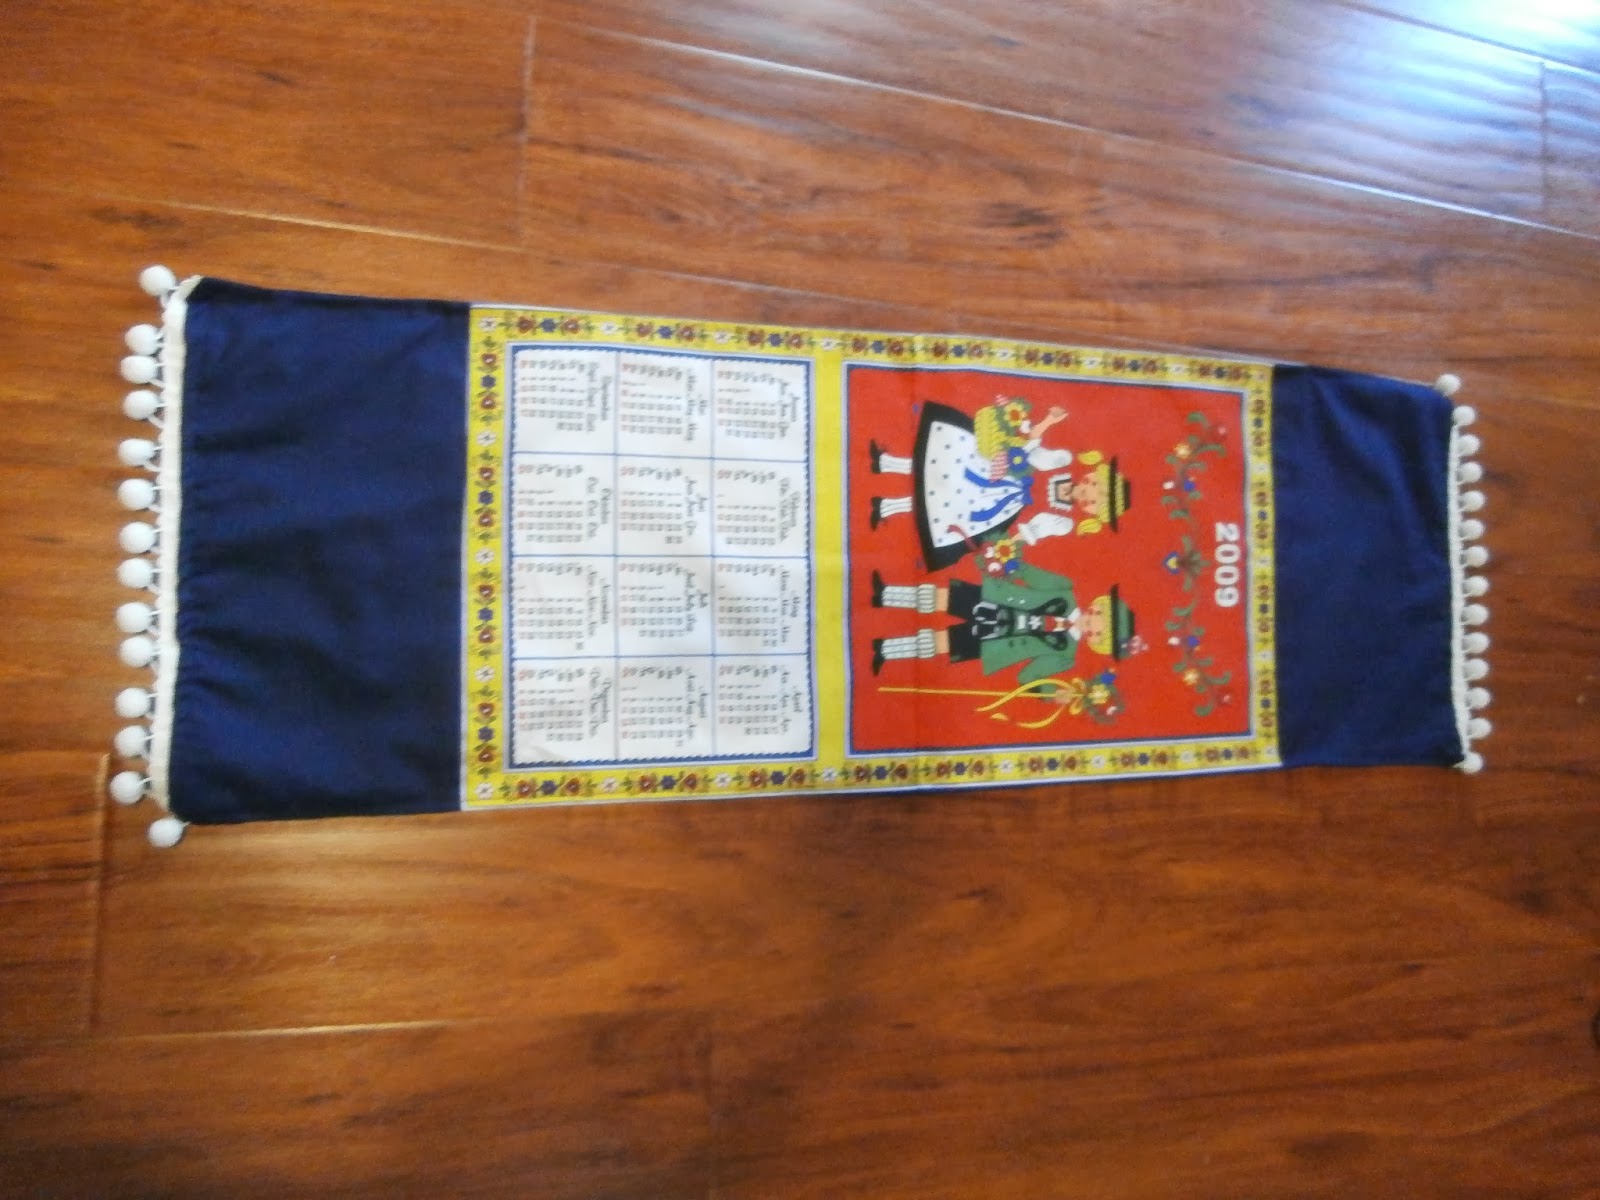
Flag to Table Runner

My mom's friend gave me a flag to upcycle into something fabulous...

Here is the result!


I added navy blue cotton fabric from Joann's to lengthen it and white pom-pom trim to either end.
Sorry, I don't have a tutorial for it because I honestly didn't think it would turn out!

Pin It Now!

Saturday, November 2, 2013

TUTORIAL: Día de los Muertos Brooch

Hoy es el Día de los Muertos, or today is Day of The Dead.
Celebrate this Hispanic-originating holiday or just craft this up for fun!
(Glitter mandatory!)


Pin It Now!

Sunday, October 27, 2013

DIY 1950s Costume

Here is another decade fashions costume idea!
This time... the 1950s!


Pin It Now!

Sunday, October 13, 2013

DIY 1920s Costumes

A Great Gatsby- inspired tutorial just in time for Halloween!

Here are the 2 looks I put together! Click on the video below to see how!


Pin It Now!

Thursday, October 10, 2013

Homemade Alice in Wonderland Costumes

Hey everyone!
So 2 years ago my family decided that we would all dress up as characters from Alice in Wonderland.
I wanted to show you the costume-making process of the Queen of Hearts costume and Alice costume.
Everyone helped out to make the costumes! (Mom, Dad, Grandpa...) 
...and they turned out to be a huge success!

Here we are! (*Were... this was 2011)

QUEEN OF HEARTS COSTUME:
For my mom, who dressed up as the queen of hearts, we thrifted this floor-length black silk dress, some black heels, and she wore a black coat on top for warmth. A lace choker was also added to the look.

We also thrifted some red velvet and cut it into a large heart. We ironed some interfacing to the back to make it stiff and hot glued some gold trim around the heart. Then, we secured it onto the front of the dress with some safety pins.

For the sash, I bought some thick red silk ribbon, about 2 yards in length. I hand drew some hearts and spades onto a scrap of freezer paper and cut the shapes out with a craft knife. I then ironed the freezer paper to the center of the sash and filled the shapes in with black fabric paint. (More on freezer paper here.)

A mini- crown was made by cutting a 12" by 4" strip of poster board, taping the ends together, and spray painting it gold. 

ALICE COSTUME:
We found hideous semi-formal/bridesmaid dress at the thrift store for Alice. We also thrifted a white blouse to go underneath. As soon as I got home, I removed the lace from the waistband of the dress and made it into a choker necklace for Mrs. Queen of Hearts! 

I made the apron out of white fabric, but you could use a cotton sheet. 1. Sew 2 bodice pieces right sides together, (except for the bottom) turn right side out and attach to sash. 2. Sew 2 large rectangles together right sides together, leaving the top open. 3. Turn right side out and make a gathering stitch across the top. 
4. Attach this to the sash; the same side as you attached the bodice. 5. This got cut off, but I simply attached a strap for the neck. 6. All done! Sorry that wasn't very descriptive! Leave any questions in the comment section below.

To complete the costume, I tied a black ribbon around my hair, wore a stopwatch-necklace thing, and black flats. Here was the finished look! (And my old room)


Pin It Now!