Difficulty: ♥ ♥ ♥ ♥ ♥

Showing posts with label t-shirt. Show all posts
Showing posts with label t-shirt. Show all posts
Monday, November 12, 2012

Tuesday, June 12, 2012
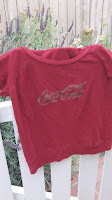
DIY Coca Cola T-shirt
How to make a Coca- cola shirt with freezer paper stenciling. What's freezer paper stenciling? Click here.
Level: ●●●○
 Pin It Now!
Level: ●●●○

Wednesday, May 9, 2012
Tutorial: Hunger Games tee!

This tutorial uses a method called freezer paper stenciling. If you've never heard of it, please check out my other freezer paper post. If you are unsure about this complicating mocking jay pin design, you can attempt a simpler logo first or try it out on a cheap canvas bag.
Level: ●●●●
Supplies:
- Freezer paper- available @ grocery stores
- Mocking Jay image (enlarged & printed to your desired size.)
- X-acto knife/blade & cutting board
- Metallic gold acrylic or fabric paint, if using acrylic paint, stir in a fabric painting medium
- iron & ironing board
- card board or plastic object to stick in between layers of t-shirt or bag to prevent sticking and or bleeding
- T-shirt, canvas or cloth bag, apron or hat
- foam paint brushes
 |
| First, print out your image. Mocking Jay found here. |
 |
| Cut out a piece of freezer paper big enough for your printed image and tape/clip it on top of the printed image plastic side down, paper side up. Note: your image won't need to be reversed for this method. Trace every single line in the image on to the paper side of the freezer paper. |
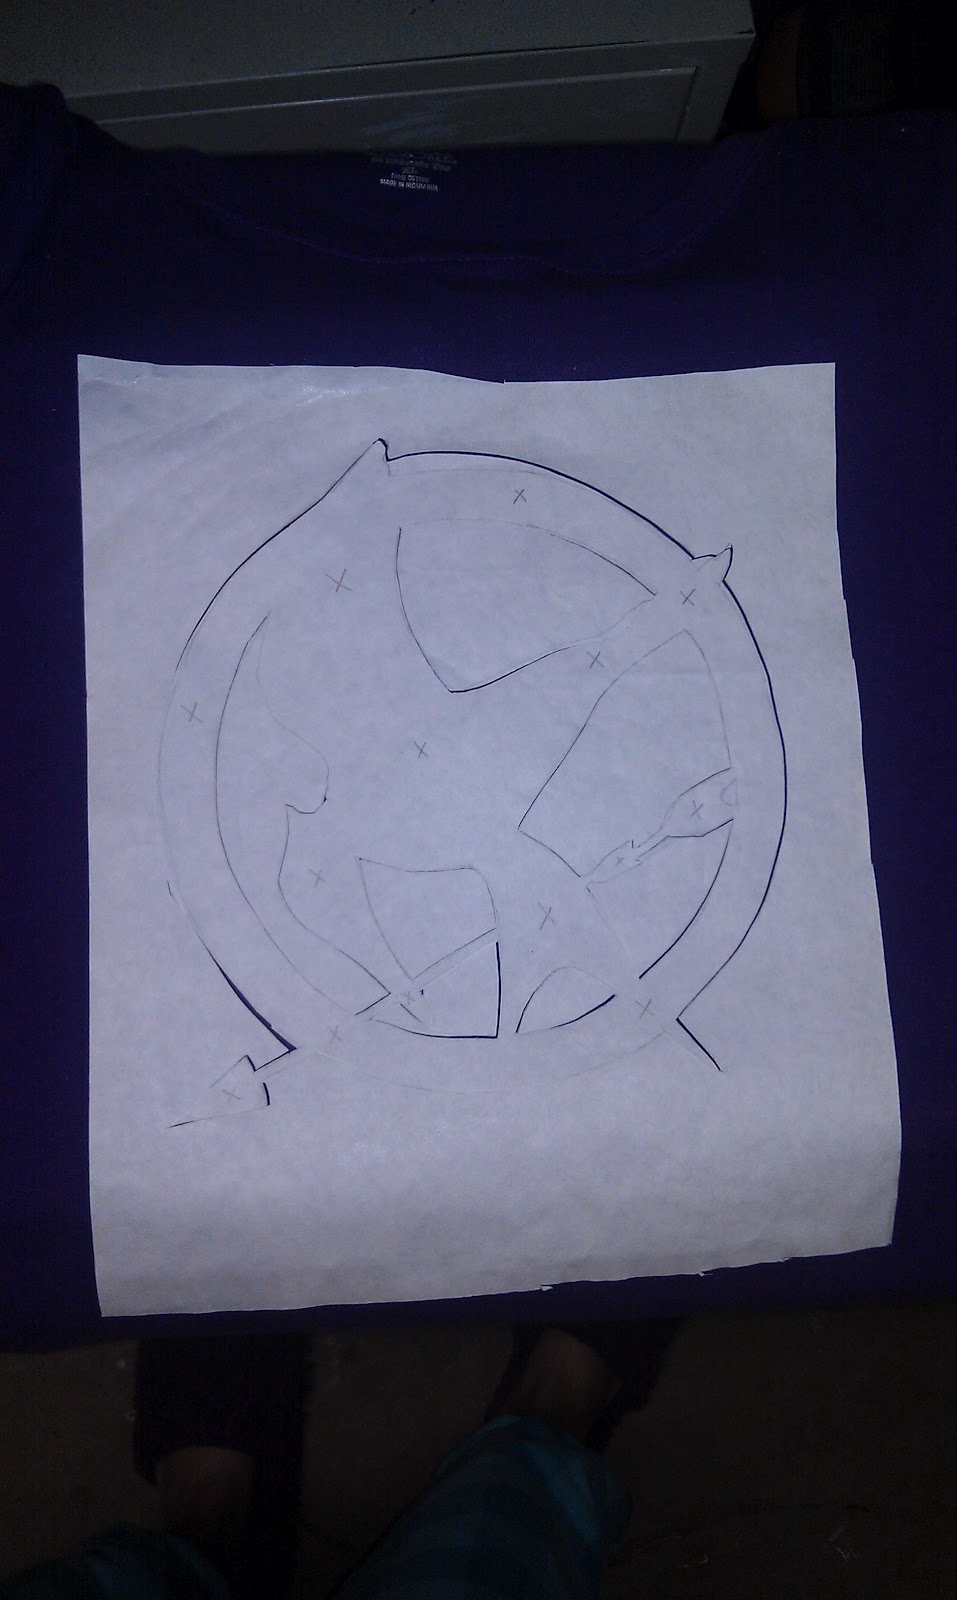 |
| Now for the hard part: you have to cut out each piece of the image very carefully on your cutting mat. This is why I suggest practicing with a simpler image first to get the hang of it. Place all the pieces on your shirt exactly where you want them to be. Iron them on carefully on medium-high heat for a minute and be sure to line everything up. |
 |
| Now, this is also tough, but if you cut out the image right, you will be able to peel the inner bird off the shirt. Make sure the outline stays in tact. Yep, you just created a stencil. (Use once for maximum results.) |
 |
| With the outline still ironed on, mix your paints to desired color and use a foam paint brush to generously apply paint inside stencil. Let dry for 2 hours and blow dry to seal paint. (The heat does it.) If you made it the morning of the day you saw the movie like me, keep blow drying! P.S. you'll smell like paint until you wash it! |
 |
| It came out sooo amazing the pic doesn't do it justice! I wore it to school and got 11 compliments! (pfft! I wasn't counting.) :D Would love to see a pic of your DIY Hunger Games attire!!! Be sure to check out THG shirt tutorial on Sweet Verbena! |
Monday, January 2, 2012
Freezer Paper Stencil Tutorial

Before you check out my tutorial- Check out Dana Made It and Make it Love it.
Okay, so there's this wonderful little thing called freezer paper... IT ROCKS! It is a versatile paper-like material with a paper side and a plastic-y side. Freezer paper can be used to do many things- from wrapping raw meat to appliques. Today I'm showing you how to use it as a stencil.
Level: ●●○○
Supplies:
- Freezer paper- available @ grocery stores
- print out of image you want to stencil
- fabric paint
- X-acto knife + cutting mat
- pencil
- iron
- foam brush
 |
| First, print out your design in the size you want (in my case a lightning bolt) and place it behind a piece of freezer paper. Using a pencil, trace the image directly onto the paper-y side of the freezer paper. |
 |
| Tip: try to choose a simple image to stencil. Using the X-acto knife, cut out the image as shown in the next pic. |
 |
| Place the stencil onto the shirt and iron at medium/high heat. |
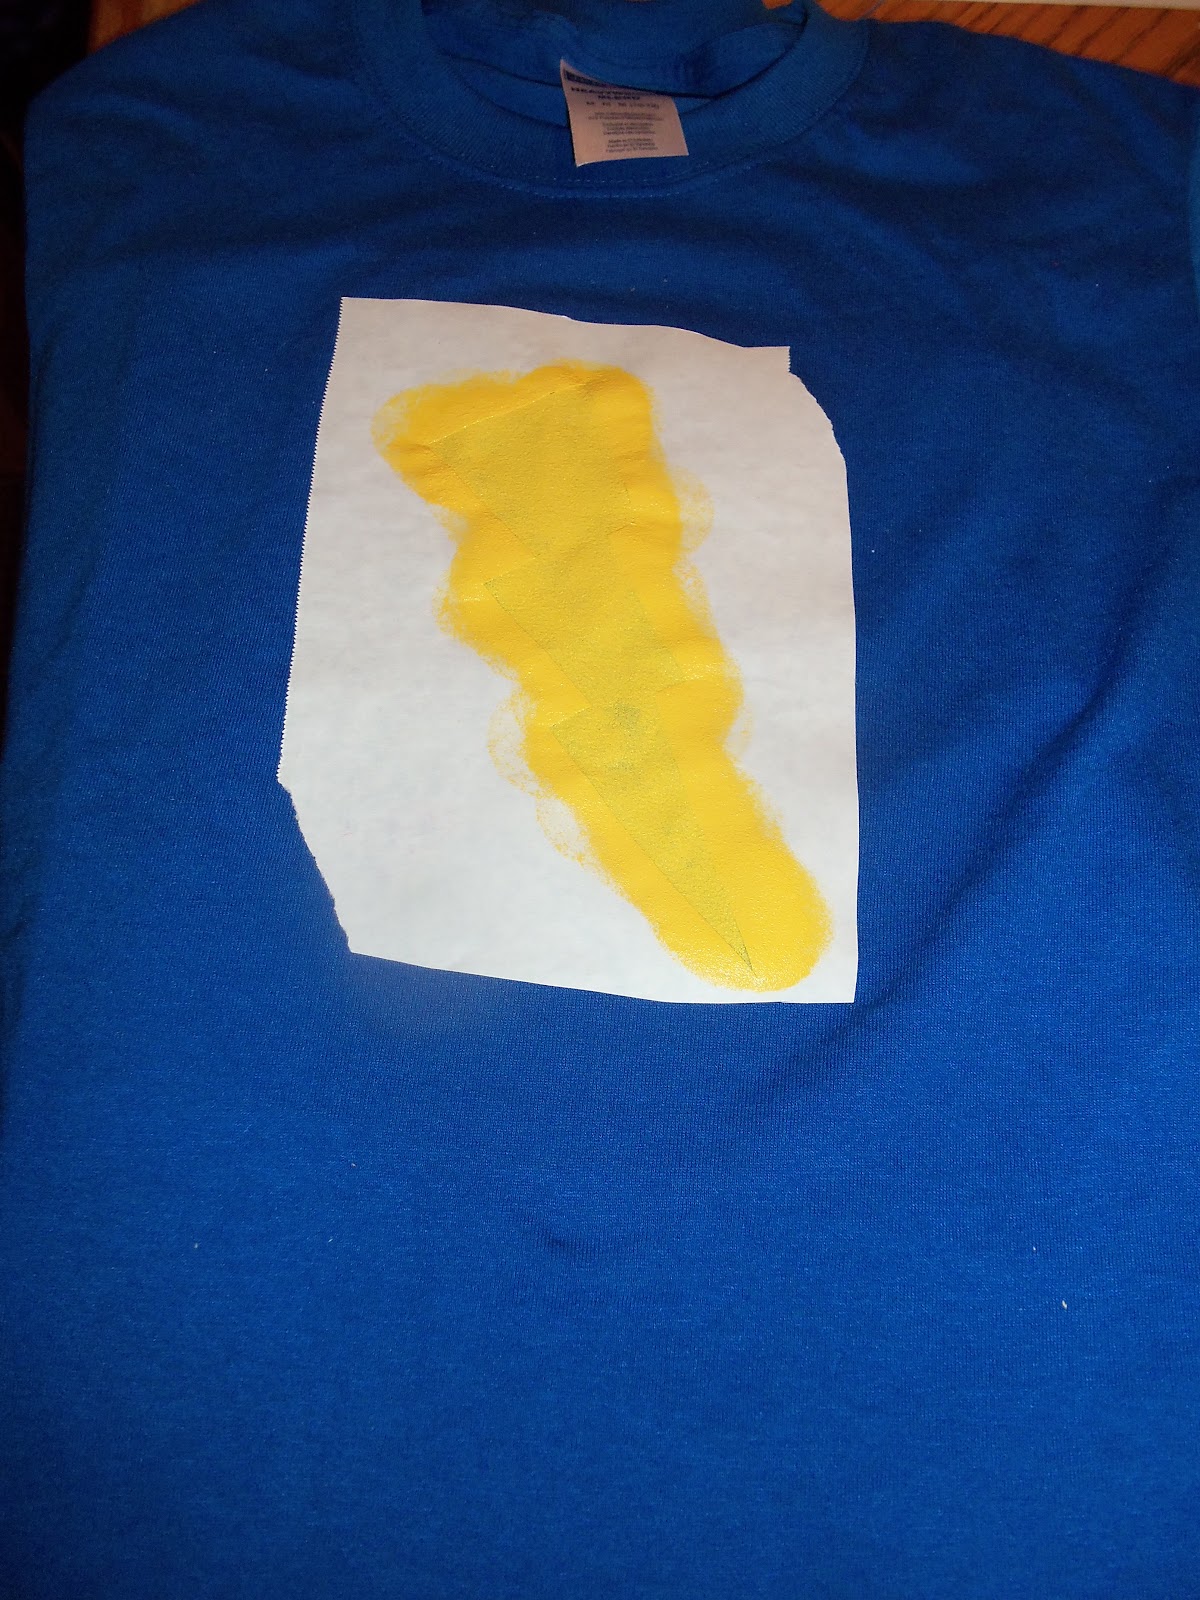 |
| Place a piece of cardboard between both layers of t-shirt so the paint doesn't bleed through. Using a foam brush, paint over the stencil with fabric paint. Don't paint outside the freezer paper. |
 |
| After it's dried, peel the freezer paper off. Let the adventures of Captain Huggy Face begin! |
 |
| To seal your design, place a cloth over design, iron, and wash inside out. |
Subscribe to:
Posts (Atom)