My younger sister needed a costume for a school function~ so I volunteered to make it, of course!
She needed a costume for Mary Ludwig Hays, aka "Molly Pitcher" from the American Revolution. Below is my inspiration board for the outfit.
Making the Shrug/Bolero


I used Symphony Broadcloth Solid Quilt Fabric from JoAnn in Navy. It is inexpensive and looks nice.
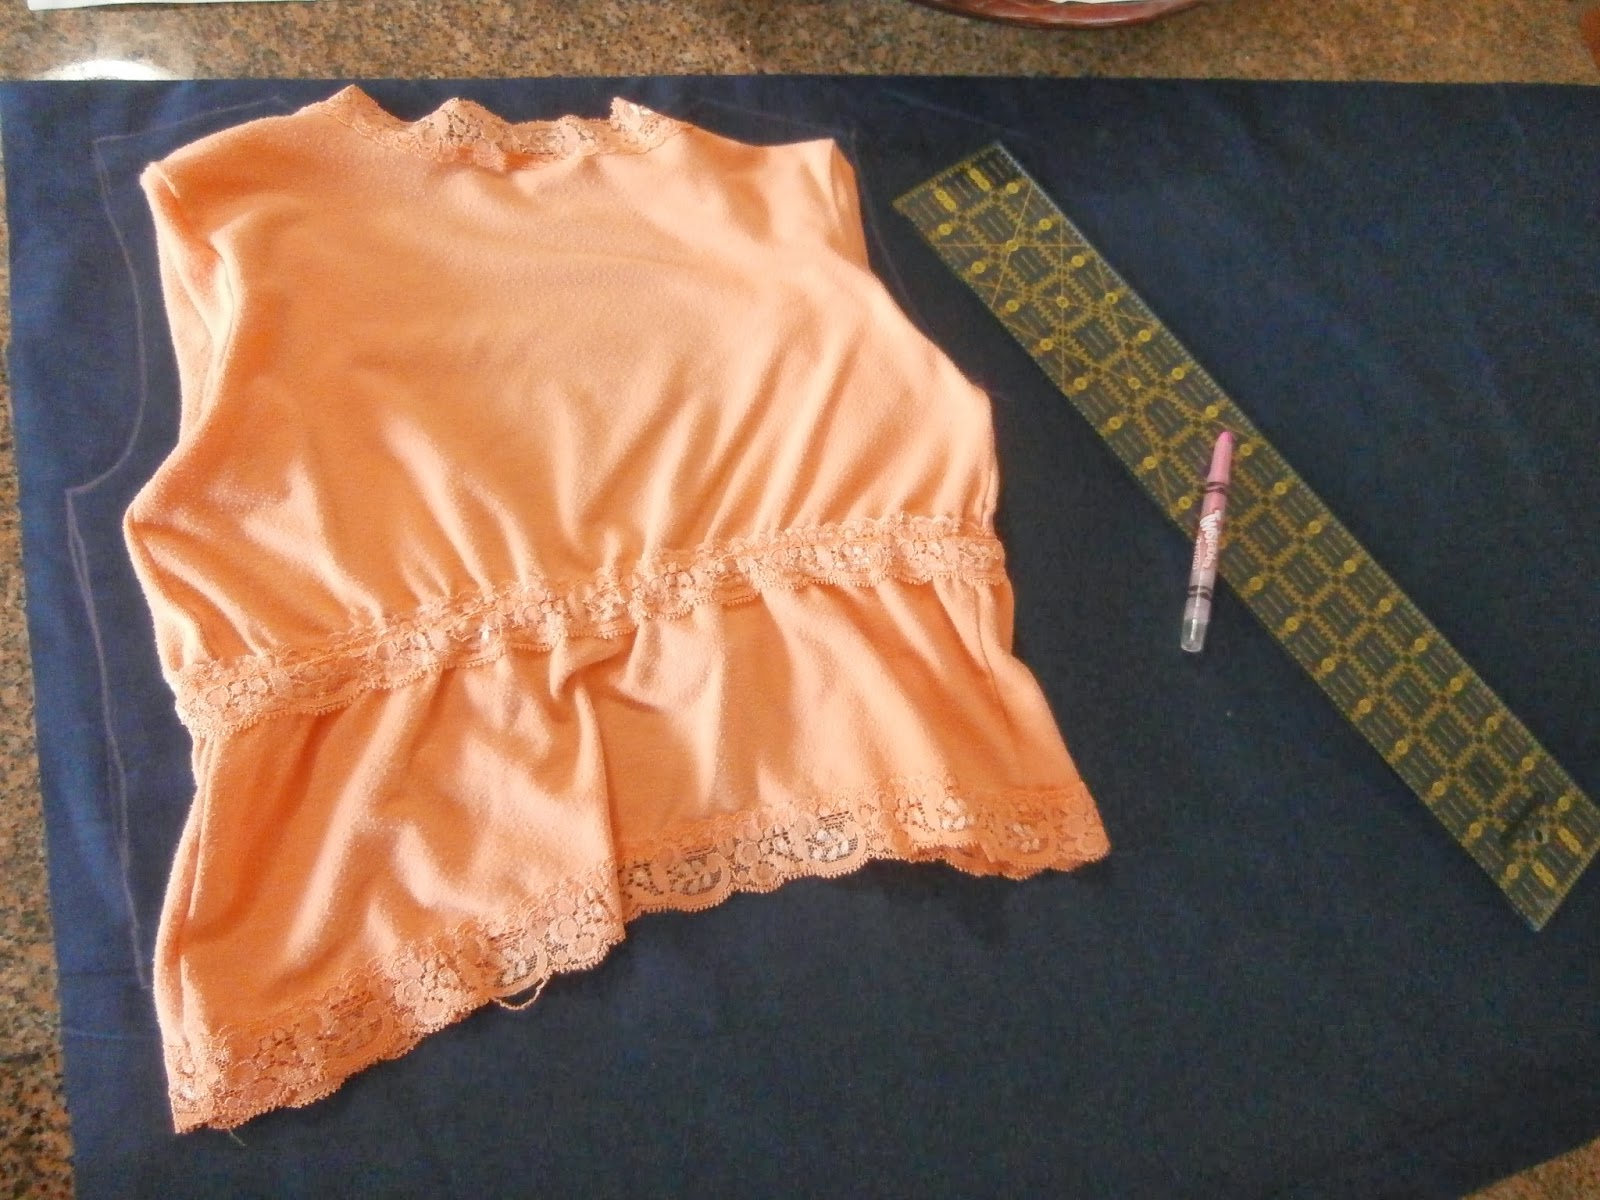
Instead of using a pattern, I traced one of my sister's shirts onto the fabric including a 5/8" seam allowance on all sides. Make sure your fabric is folded in half so you end up with 2 shirt pieces.
Next, I cut out some sleeves by tracing the shirt sleeves on the fold. You will need to cut 2.
Here are my pieces! (2 sleeves, 2 shirt body pieces)
Take 1 of the shirt pieces and fold in half, matching up the neckline. Using a marking tool (or in my case, a pink Crayola Twistable), trace curves similar to those shown above. (One extending from the shoulder and diagonally down and one curve on the bottom edge. Connect these to form a half-oval and cut along the line.)
You should end up with 2 SEPARATE pieces to the front of the shirt. Align right sides together with the other shirt piece as shown above.
Pin the shoulder and side seams.
Now you end up with a vest! Onto the sleeves! You can't really see from the photo, but I sewed the 2 short ends of the sleeves (right sides together, of course.)
Attach the sleeves to the vest~ this took some patience ;) I sewed, okay glued, some black bias tape around the sleeve opening, but you could hem it as well.
For this next part, I referenced this tutorial from www.makeit-loveit.com
From the remaining fabric, I cut 2.5" wide strips, which turned out to be almost a yard long each. I sewed 3 together, which was plenty for the shrug. Here, you can see my sis hemming the very long fabric strip on one long end, but I would recommend to hem both edges.
I used a basting stitch (a longer-than-normal straight stitch) to go all the way across the strip on ONE SIDE ONLY. DO NOT BACKSTITCH! Make sure you leave the threads long on either end so you can gently pull to create a ruffle! I then attached it to the shrug, which is explained nicely in Ashley's post!
Making the skirt
I used Symphony Broadcloth Solid Quilt Fabric from JoAnn in Plumberry.
I folded my fabric in half, then in half again, lengthwise.
For the rest of the skirt process, I followed this tutorial on www.shrimpsaladcircus.com. Only thing is~ the skirt turned out very small in the waist! I would suggest adding another inch or so.
For the rest of the costume, my sister wore a white tank under the bolero, yellow-y-beige bonnet from Colonial Williamsburg, VA, some black flats, and carried an old plastic pitcher!


