Pin It Now!

Showing posts with label how to. Show all posts
Showing posts with label how to. Show all posts
Friday, December 21, 2012
Saturday, December 1, 2012
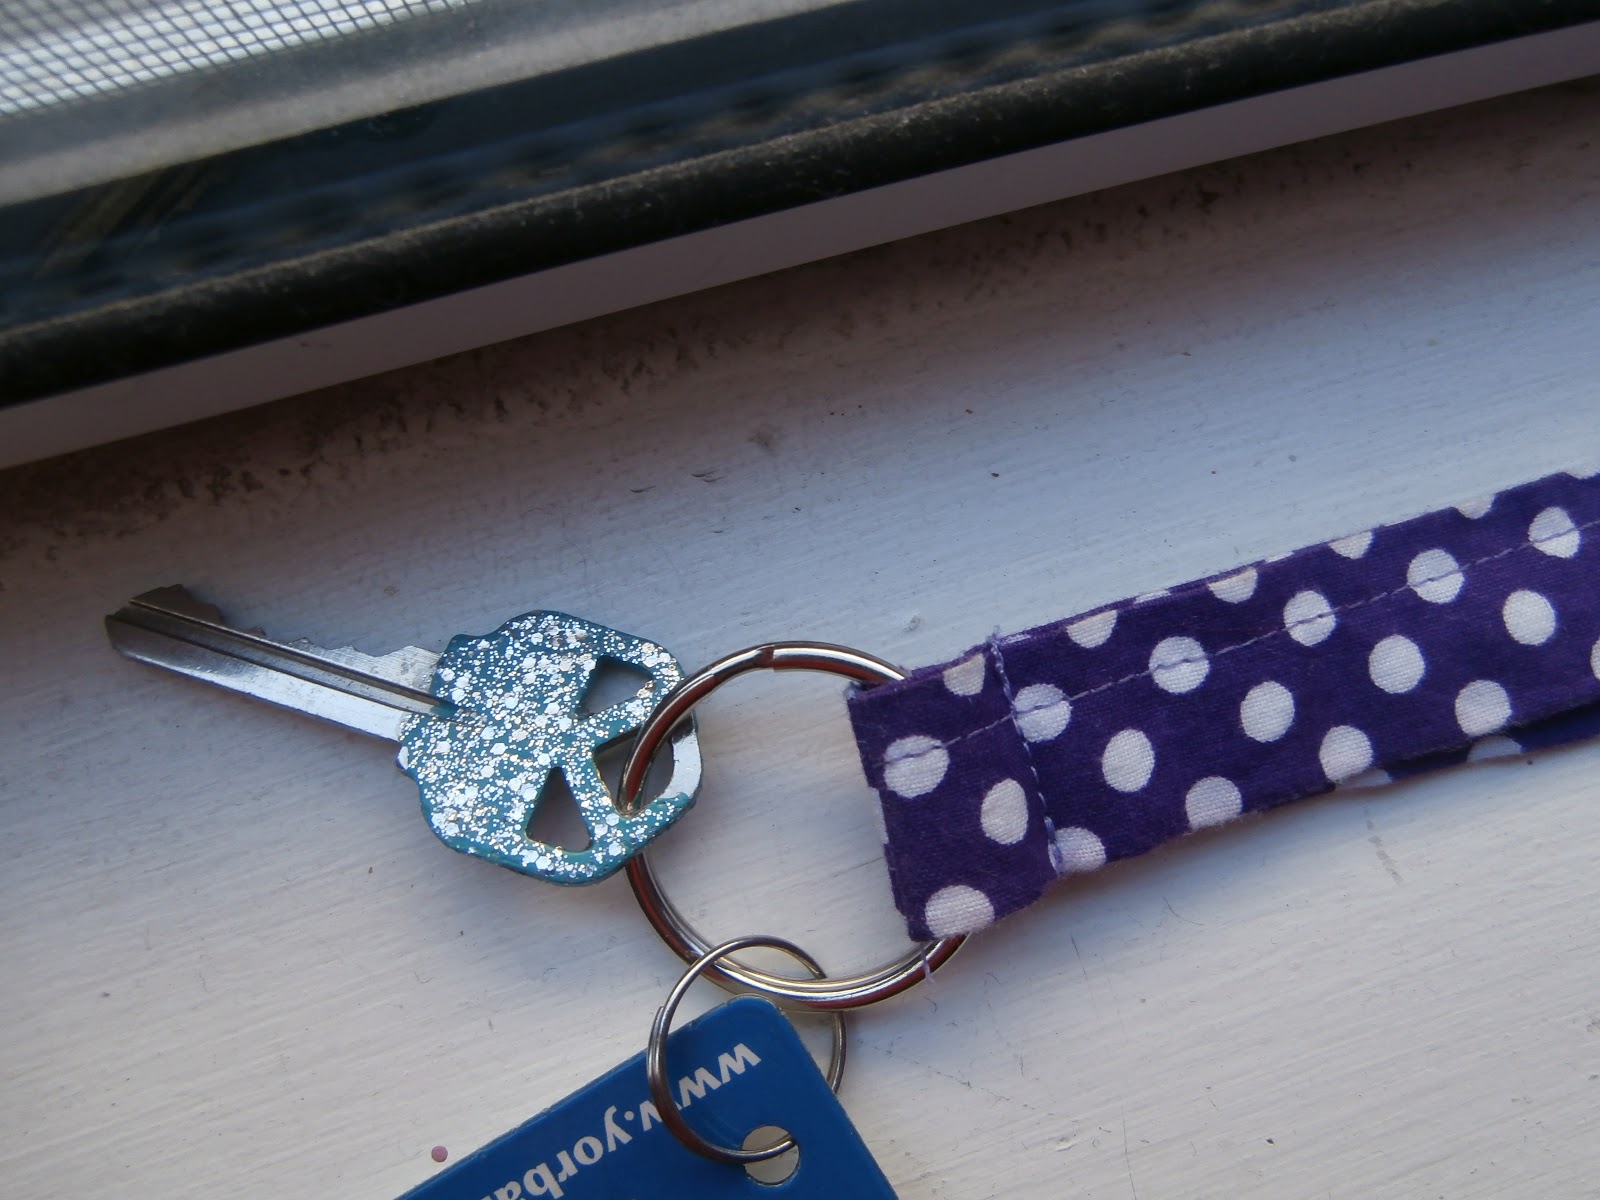
DIY Holiday Gift Series: Key & Keychain
Give a handmade fabric keychain & a cute colorful key for Christmas...
Difficulty: ♥ ♥ ♥ ♥ ♥
Supplies:
- 3" x 36" piece of non-stretchy fabric... I used cotton
- iron ~ you might be able to use a hair straightener :)
- metal key chain ring
- sewing machine or fabric glue
- key & nail polish for decorating
 |
| Take your 3" by 35" cotton fabric, iron in half lengthwise, right side out. |
 |
| Open it up... |
 |
| Fold each side into the center fold... |
 |
| and iron! |

 |
| Sew down the long side or iron on fusible tape like steam-a-seam. |
 |
| Slide a lanyard hook/ key ring onto one strip. |
 |
| Sew the short ends together with the ring still threaded on strip. |
 |
| Fold the ends inward, enclosing the ring, & topstitch right above the ring. |

 |
| All done with the lanyard! |
 |
| Take a coordinating color of nail polish... |
 |
| And paint the top half of the key! |


Monday, November 12, 2012
Thursday, November 8, 2012
Sunday, October 21, 2012
DIY Halloween Decor!!!
DIY Halloween Decor! How to make a fake poison bottle prop, a chic jack-o-lantern and a hanging bat!
Difficulty: ♥ ♥ ♥ ♥ ♥


 Pin It Now!
Thursday, October 11, 2012
Friday, September 28, 2012
Tuesday, September 18, 2012
Wednesday, August 15, 2012
Saturday, June 23, 2012
June's Necklace of the Month
June's Necklace of the Month is.... the colored chain necklace, let's get started!
Level: ●●●○
Supplies:
- one gold necklace chain
- 7 jump rings
- pliers
- 7 pieces of chain in various sizes
- acrylic paint. spray paint
 |
| Start coloring your chains with paint or spray paint. Make sure to cover both sides. |
 |
| P.S. File Folders make great paint palettes & craft surfaces. |
 |
| While your chains dry, take your necklace chain, find the center link, and attach a jump ring to that spot. |
 |
| Attach one of your colored chains to that jump ring. |
 |
| Move a few spaces over and continue adding jump rings then a colored chain to that jump ring. |
 |
| I created a really cool pattern with the different colors and lengths. |
 |
| Awesome! |

Saturday, June 2, 2012
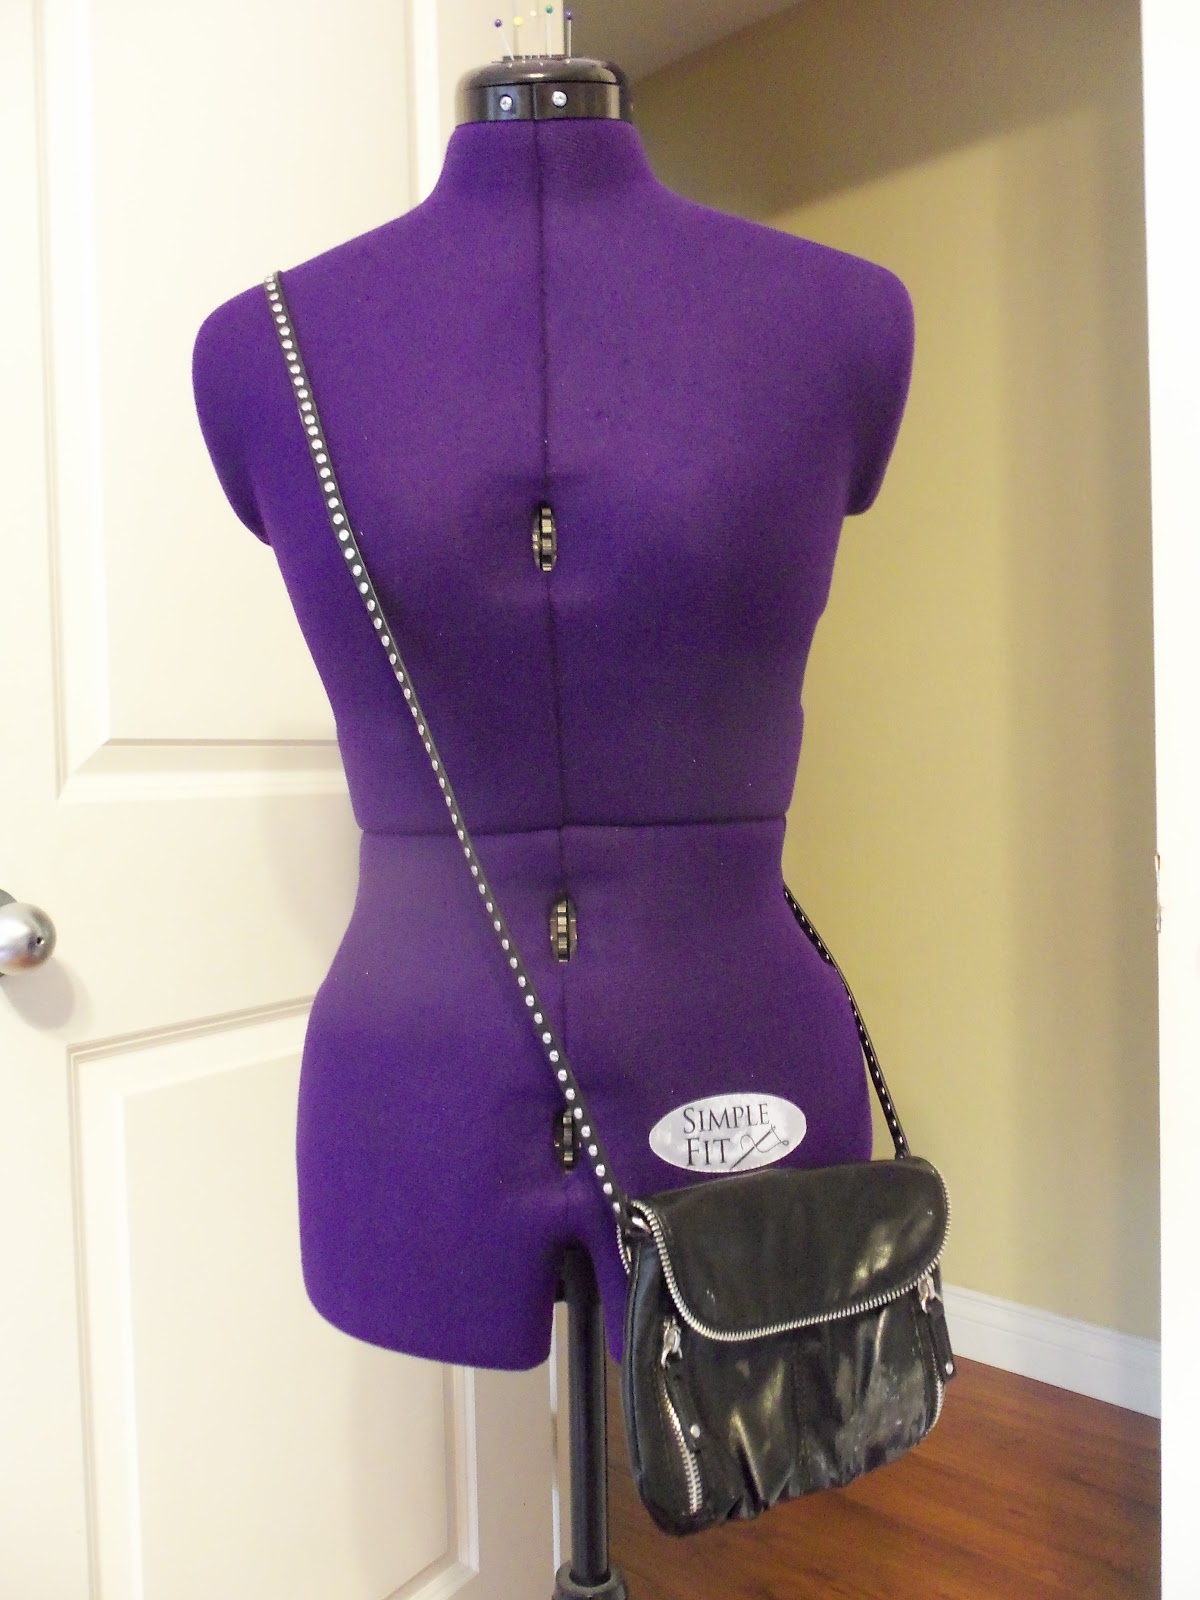
DIY Color block bag
My Grandma bought me this BEAUTIFUL Steve Madden black faux leather cross body bag for Christmas. It has studs, cheetah print lining, and cool zippers. Of course, I get white wall paint all over it. WHY???
Color block it! Check here & here for more tips.
Level: ●●●○
Supplies:
 -If using leather, prepare leather surface- just where you want the paint!- by first lightly sanding it then cleaning with rubbing alcohol. (My sand paper says 150 C on the back if that helps.)
Color block it! Check here & here for more tips.
Level: ●●●○
Supplies:
- Leather or suede item (Bag, wallet, shoes...)
- Wet wipe
- Fine sand paper & Rubbing Alcohol - if painting leather or faux leather
- Acrylic paint - not Tempera
- Paint brush
- Blow dryer
- Painter's tape or electrical tape
 -If using leather, prepare leather surface- just where you want the paint!- by first lightly sanding it then cleaning with rubbing alcohol. (My sand paper says 150 C on the back if that helps.)
-If using suede or textures, prepare suede surface by cleaning it with a wet wipe.
Pin It Now!
 |
| After you've prepared the surface, tape off the sections you do not want to paint. Smooth out all bubbles in the tape. |
 |
| For the first coat of paint, dip the brush in rubbing alcohol and then into the paint. Let dry. |
 |
| For the second coat, refrain from using rubbing alcohol and use just the acrylic paint. Make sure to get an even coat and cover the entire surface. |
 |
| Blow dry after each coat from now on. I painted four coats. |
 |
| Once the last coat of paint is dry, start painting any other areas you would like to color block, following the same steps shown above. |
 |
| Time for the fun part! Once ALL THE PAINT- every last bit of it- has been dry for a while, carefully peel off the tape to reveal your finished product. |
 |
| Yay!!!!! |
 |
| And it's just so amazing. |
Monday, May 21, 2012
May Nail Tutorial: Sunflower design
Here is another simple & cute nail tutorial- if you want to see more, head to my "Tutorials" page and scroll down to the nail art section.
Level: ●●○○
Supplies:
 |
| For the base, I'm using "Blazed" by Wet n' Wild. I bought it on vacation for only $1.50 at a cute little store in Avalon, Catalina Island. Make sure it dries before you start the flower. |

 | |||||||
| Start with an electrical outlet cover and make sure you have a screw. |
| For the petals: Using the nail dotter, create a dot on your nail. Using a toothpick, start in the center of the dot and pull upwards. It should look like a teardrop. |

| Create another dot next to the petal you just completed and repeat the motion with the toothpick to shape the dot into a teardrop. |

 |
| Repeat to make a total of 5-7 petals. Let dry. |
 |
| Make a small glob of brown or green on the palette and dip the nail dotter once you have cleaned the other polish off of it. (Espresso by Revlon Top Speed) |
 |
| Make a big dot in the middle of the flower. You can stop here, but I used the toothpick to create more petals. |
 |
| With the toothpick dipped in the petal color, make short strokes starting from the center dot. Add a coat or two of clear top coat. |
 |
| That's all there is to it! Please comment if you have any questions & pleeease follow my blog! I would love to see a pic of your fave nail art as well :) |
Saturday, May 19, 2012
Lace Dress Reconstruction
My mom bought me a lace dress from Nordstrom Rack for $12! Except, I didn't like it at first...


Pin It Now!


 |
| First, I took off this sad lace flower with a seam ripper. |
 |
| Then, I cut off the lacy butterfly sleeves. |
 |
| I folded in the arm hole and sewed a hem for the sleeve. |
 |
| I added a favorite thrift find: a red elastic belt. Do you have some clothes that need some reconstructing?
Check out my tutorial archive here!
|
Subscribe to:
Posts (Atom)