Check out my new vid :)

Showing posts with label refashion. Show all posts
Showing posts with label refashion. Show all posts
Saturday, May 11, 2013
Sunday, March 3, 2013
DIY Lace Pouch
My latest YouTube video on how to refashion a simple clutch or purse with lace trim and glue.
Pin It Now!
Wednesday, November 21, 2012
Monday, November 12, 2012
Monday, August 20, 2012
DIY Lace trim shorts
I used this method to turn some super short Hollister shorts [I got on sale a while back] into somewhat longer, trendier shorts :)
Difficulty: ♥ ♥ ♥ ♥ ♥
You'll need:
- Shorts (old ones, new ones, thrifted ones)
- about 2 yards of lace trim (check the trim/notions section of your local fabric store)
- fabric glue or fabric glue sticks & glue gun or needle & thread
 |
| Here are the fabric hot glue sticks I got from JOANN. |
 |
| Cut the lace trim to the size of the area of the shorts you are covering + 1 inch. I suggest starting with the side of the leg openings. Fold the lace trim under 1/3 of an inch and glue or sew that down. |
 |
| Little by little, tack down the top of the trim , press down, and let dry. |
 |
| Once you get close to the end, leave about an inch to turn under the lace and glue that down . |
 |
| These are what the sides should look like! |
 |
| Done! :) |

Friday, July 20, 2012
DIY Stenciled Shorts
I think these shorts are fashionable anytime. You can use whatever stencil and color you want on the shorts! Or make stripes with tape!
Difficulty: ♥ ♥ ♥ ♥ ♥
You will need:
- stencil (or you could make your own from cardboard)
- painter's blue tape
- fabric paints
- cardboard
- old jeans or shorts (that fit you in the waist and hips)
- foam paintbrush or any large paintbrush
 |
| Cut your jeans to the desired length plus 1 inch. |
 |
| Grab a cool stencil. |
 |
| Tape your stencil onto the shorts and insert cardboard in between the layers of denim. |
 |
| Paint inside the stencil, peel the stencil off, and wipe it clean. |
 |
| Repeat previous steps all over the denim. |
 |
| Pretty Pretty! |
 |
| Don't like stars? Try polka dots, hearts, triangles, flowers or stripes with blue tape. |
 |
| Want to see a video tutorial? Click here. |
Saturday, June 2, 2012
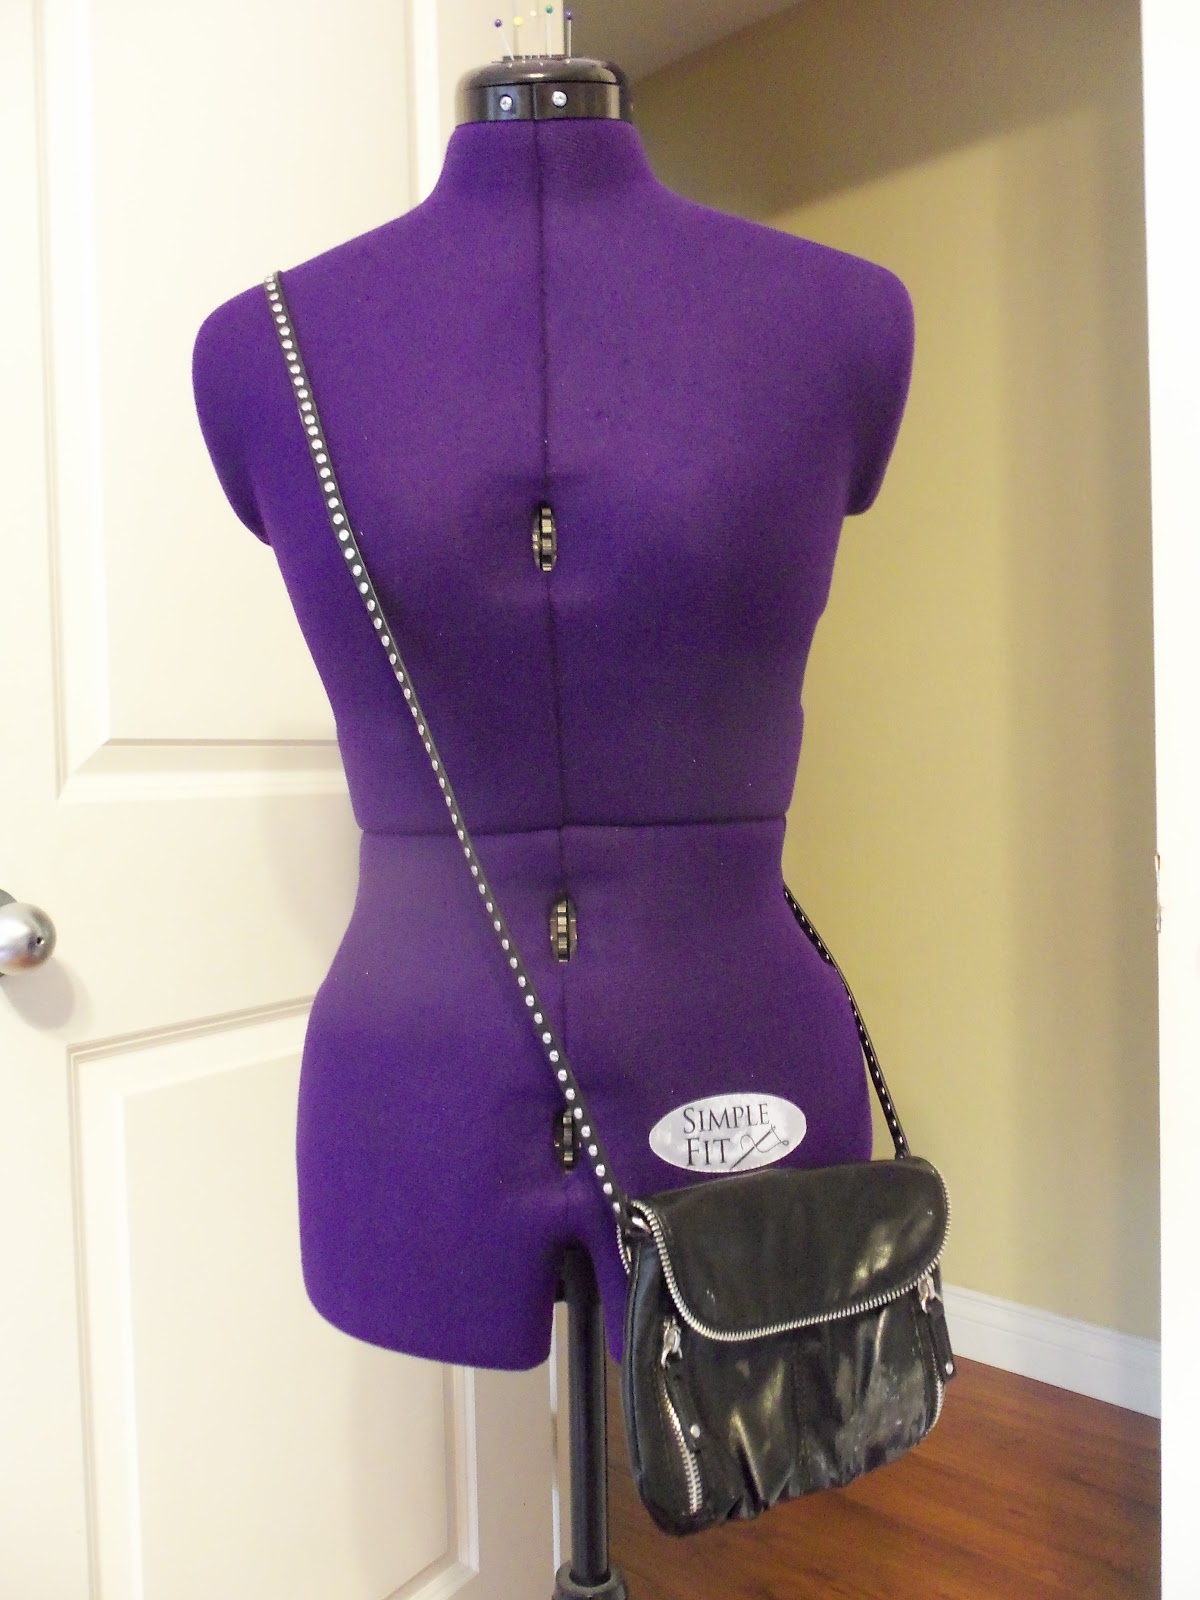
DIY Color block bag
My Grandma bought me this BEAUTIFUL Steve Madden black faux leather cross body bag for Christmas. It has studs, cheetah print lining, and cool zippers. Of course, I get white wall paint all over it. WHY???
Color block it! Check here & here for more tips.
Level: ●●●○
Supplies:
 -If using leather, prepare leather surface- just where you want the paint!- by first lightly sanding it then cleaning with rubbing alcohol. (My sand paper says 150 C on the back if that helps.)
Color block it! Check here & here for more tips.
Level: ●●●○
Supplies:
- Leather or suede item (Bag, wallet, shoes...)
- Wet wipe
- Fine sand paper & Rubbing Alcohol - if painting leather or faux leather
- Acrylic paint - not Tempera
- Paint brush
- Blow dryer
- Painter's tape or electrical tape
 -If using leather, prepare leather surface- just where you want the paint!- by first lightly sanding it then cleaning with rubbing alcohol. (My sand paper says 150 C on the back if that helps.)
-If using suede or textures, prepare suede surface by cleaning it with a wet wipe.
Pin It Now!
 |
| After you've prepared the surface, tape off the sections you do not want to paint. Smooth out all bubbles in the tape. |
 |
| For the first coat of paint, dip the brush in rubbing alcohol and then into the paint. Let dry. |
 |
| For the second coat, refrain from using rubbing alcohol and use just the acrylic paint. Make sure to get an even coat and cover the entire surface. |
 |
| Blow dry after each coat from now on. I painted four coats. |
 |
| Once the last coat of paint is dry, start painting any other areas you would like to color block, following the same steps shown above. |
 |
| Time for the fun part! Once ALL THE PAINT- every last bit of it- has been dry for a while, carefully peel off the tape to reveal your finished product. |
 |
| Yay!!!!! |
 |
| And it's just so amazing. |
Saturday, May 19, 2012
Lace Dress Reconstruction
My mom bought me a lace dress from Nordstrom Rack for $12! Except, I didn't like it at first...


Pin It Now!


 |
| First, I took off this sad lace flower with a seam ripper. |
 |
| Then, I cut off the lacy butterfly sleeves. |
 |
| I folded in the arm hole and sewed a hem for the sleeve. |
 |
| I added a favorite thrift find: a red elastic belt. Do you have some clothes that need some reconstructing?
Check out my tutorial archive here!
|
Thursday, April 26, 2012
DIY Denim Jeans to Shorts!
I looked several places for white jeans to dye into a fun color like fuchsia, lemon yellow or teal. They fit when I tried them on @ the store, but when I got home, they were too short, but they fit otherwise. So, I decided to turn them into a cute pair of white shorts! Check out Make it- Love it for some tips!
Level:
Supplies:
- denim jeans/ pants to turn into shorts
- tailor's chalk, chalk, or washable crayon
- fabric scissors
- sewing machine
- Washing machine AND dryer
 |
| BEFORE: |
 |
| Try your pants on inside out and with your marking tool, draw a line at the length you want your shorts/ capris at. |
 |
| Take them off, fold them in half so the waistband is at the top, and cut an inch (or less) below the mark you made. |
 |
| Now decide if you want a regular hem (like jeans), a rolled hem (like some shorts) or a frayed edge- ends are not hemmed, but frayed. - That means the shorts won't come apart at the ends. If you want a regular hem, just Google how to sew a double fold hem and repeat for both legs. For a rolled hem, put on the shorts right side out, roll up evenly on both sides to desired length and sew on each side. For the frayed edge, continue reading below. |
Set your sewing machine stitch length a few settings shorter. Sew a line down each leg opening of the shorts, not creating a hem. Throw them in the washer AND dryer and the denim will fray up to the line you stitched.
 |
| Well, they turned out really awesome! |

Pin It Now!
Subscribe to:
Posts (Atom)